 Retro-Replay.com Retro gaming reviews, news, emulation, geek stuff and more!
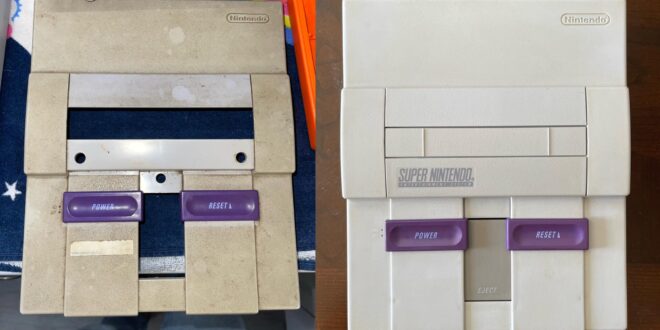
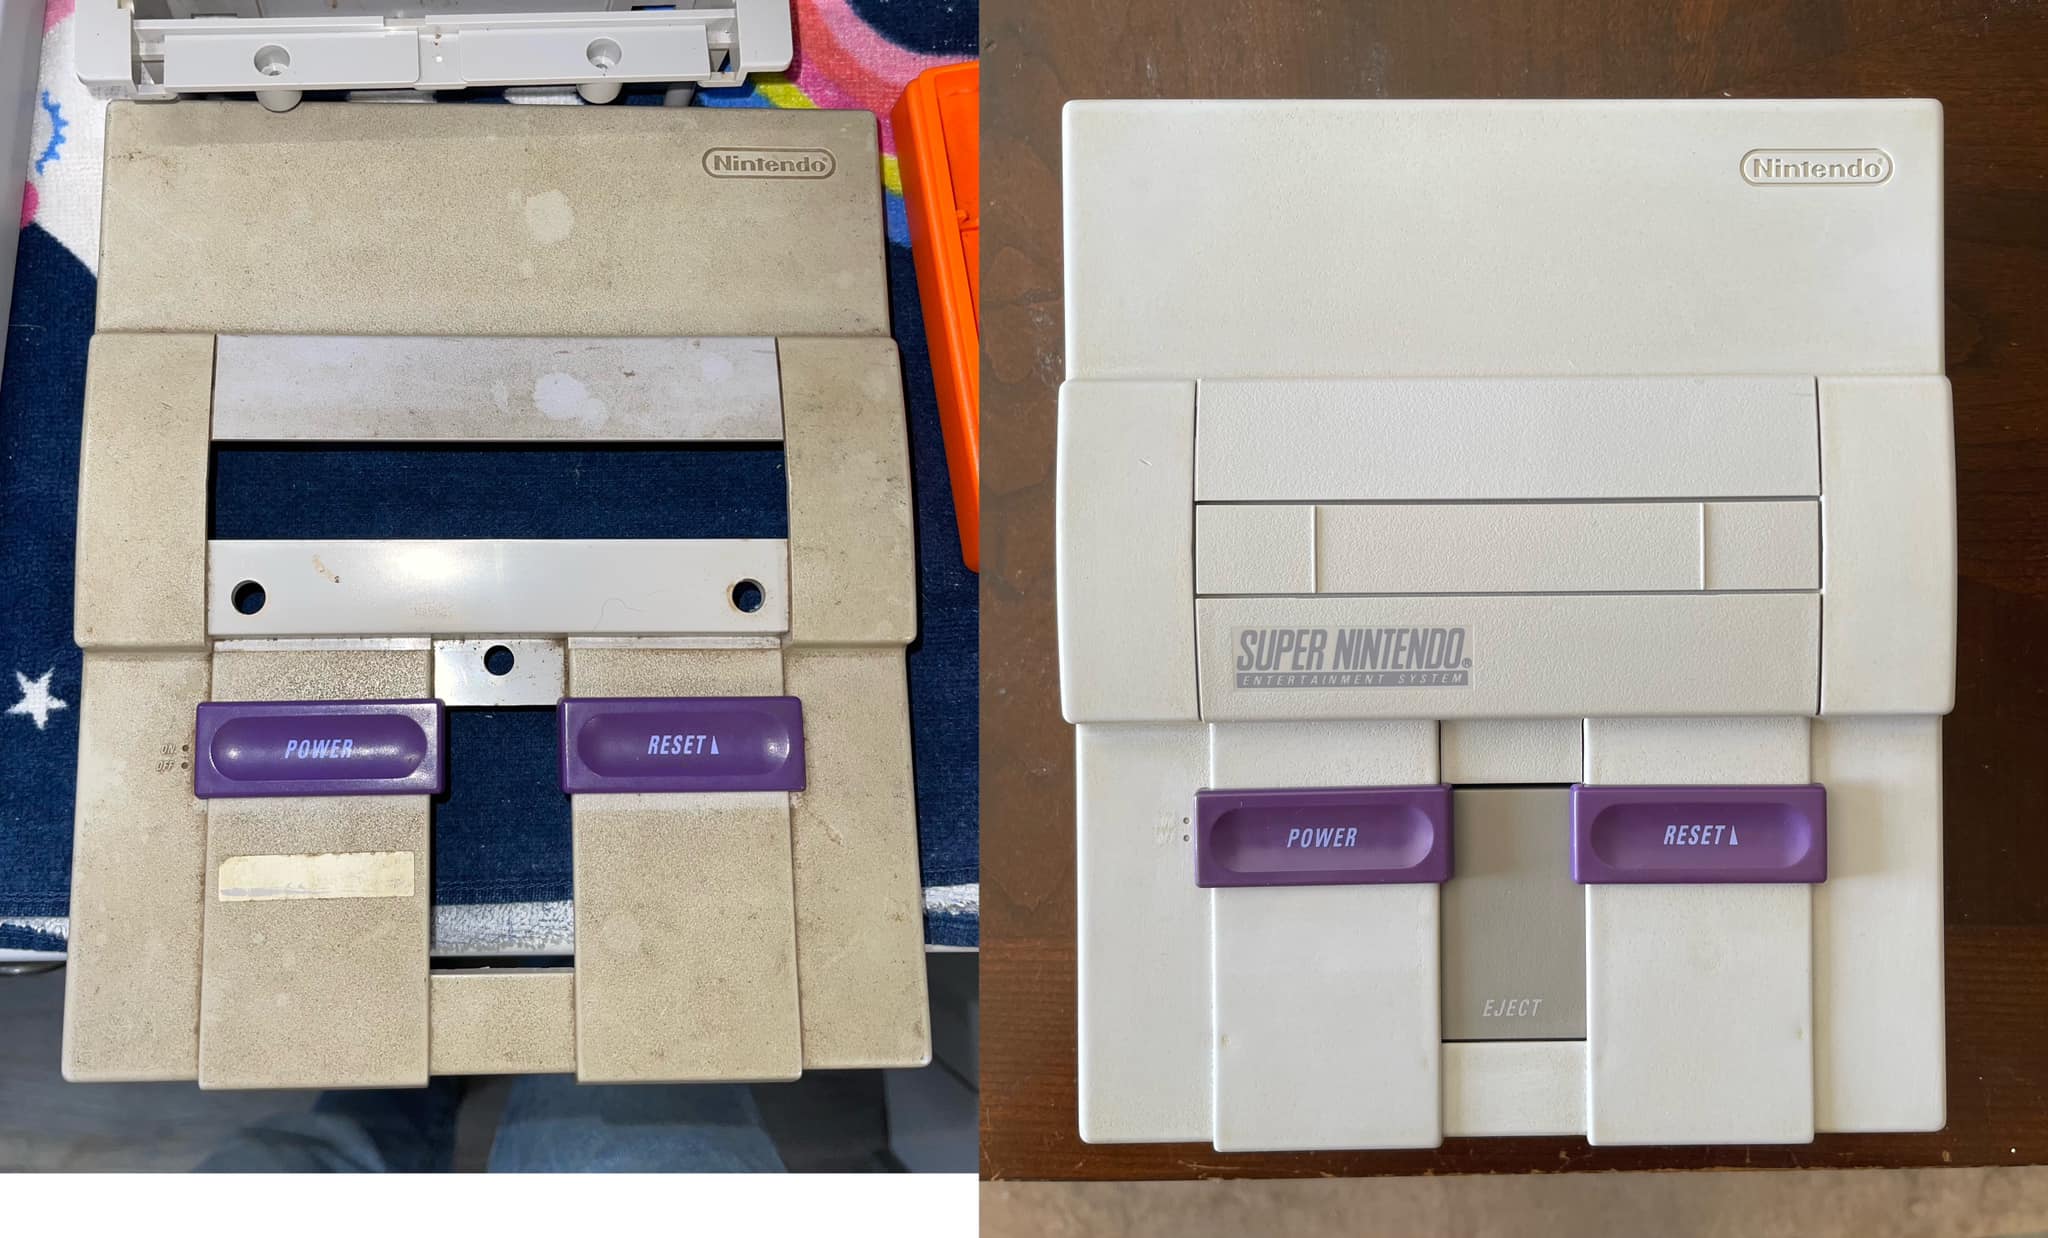
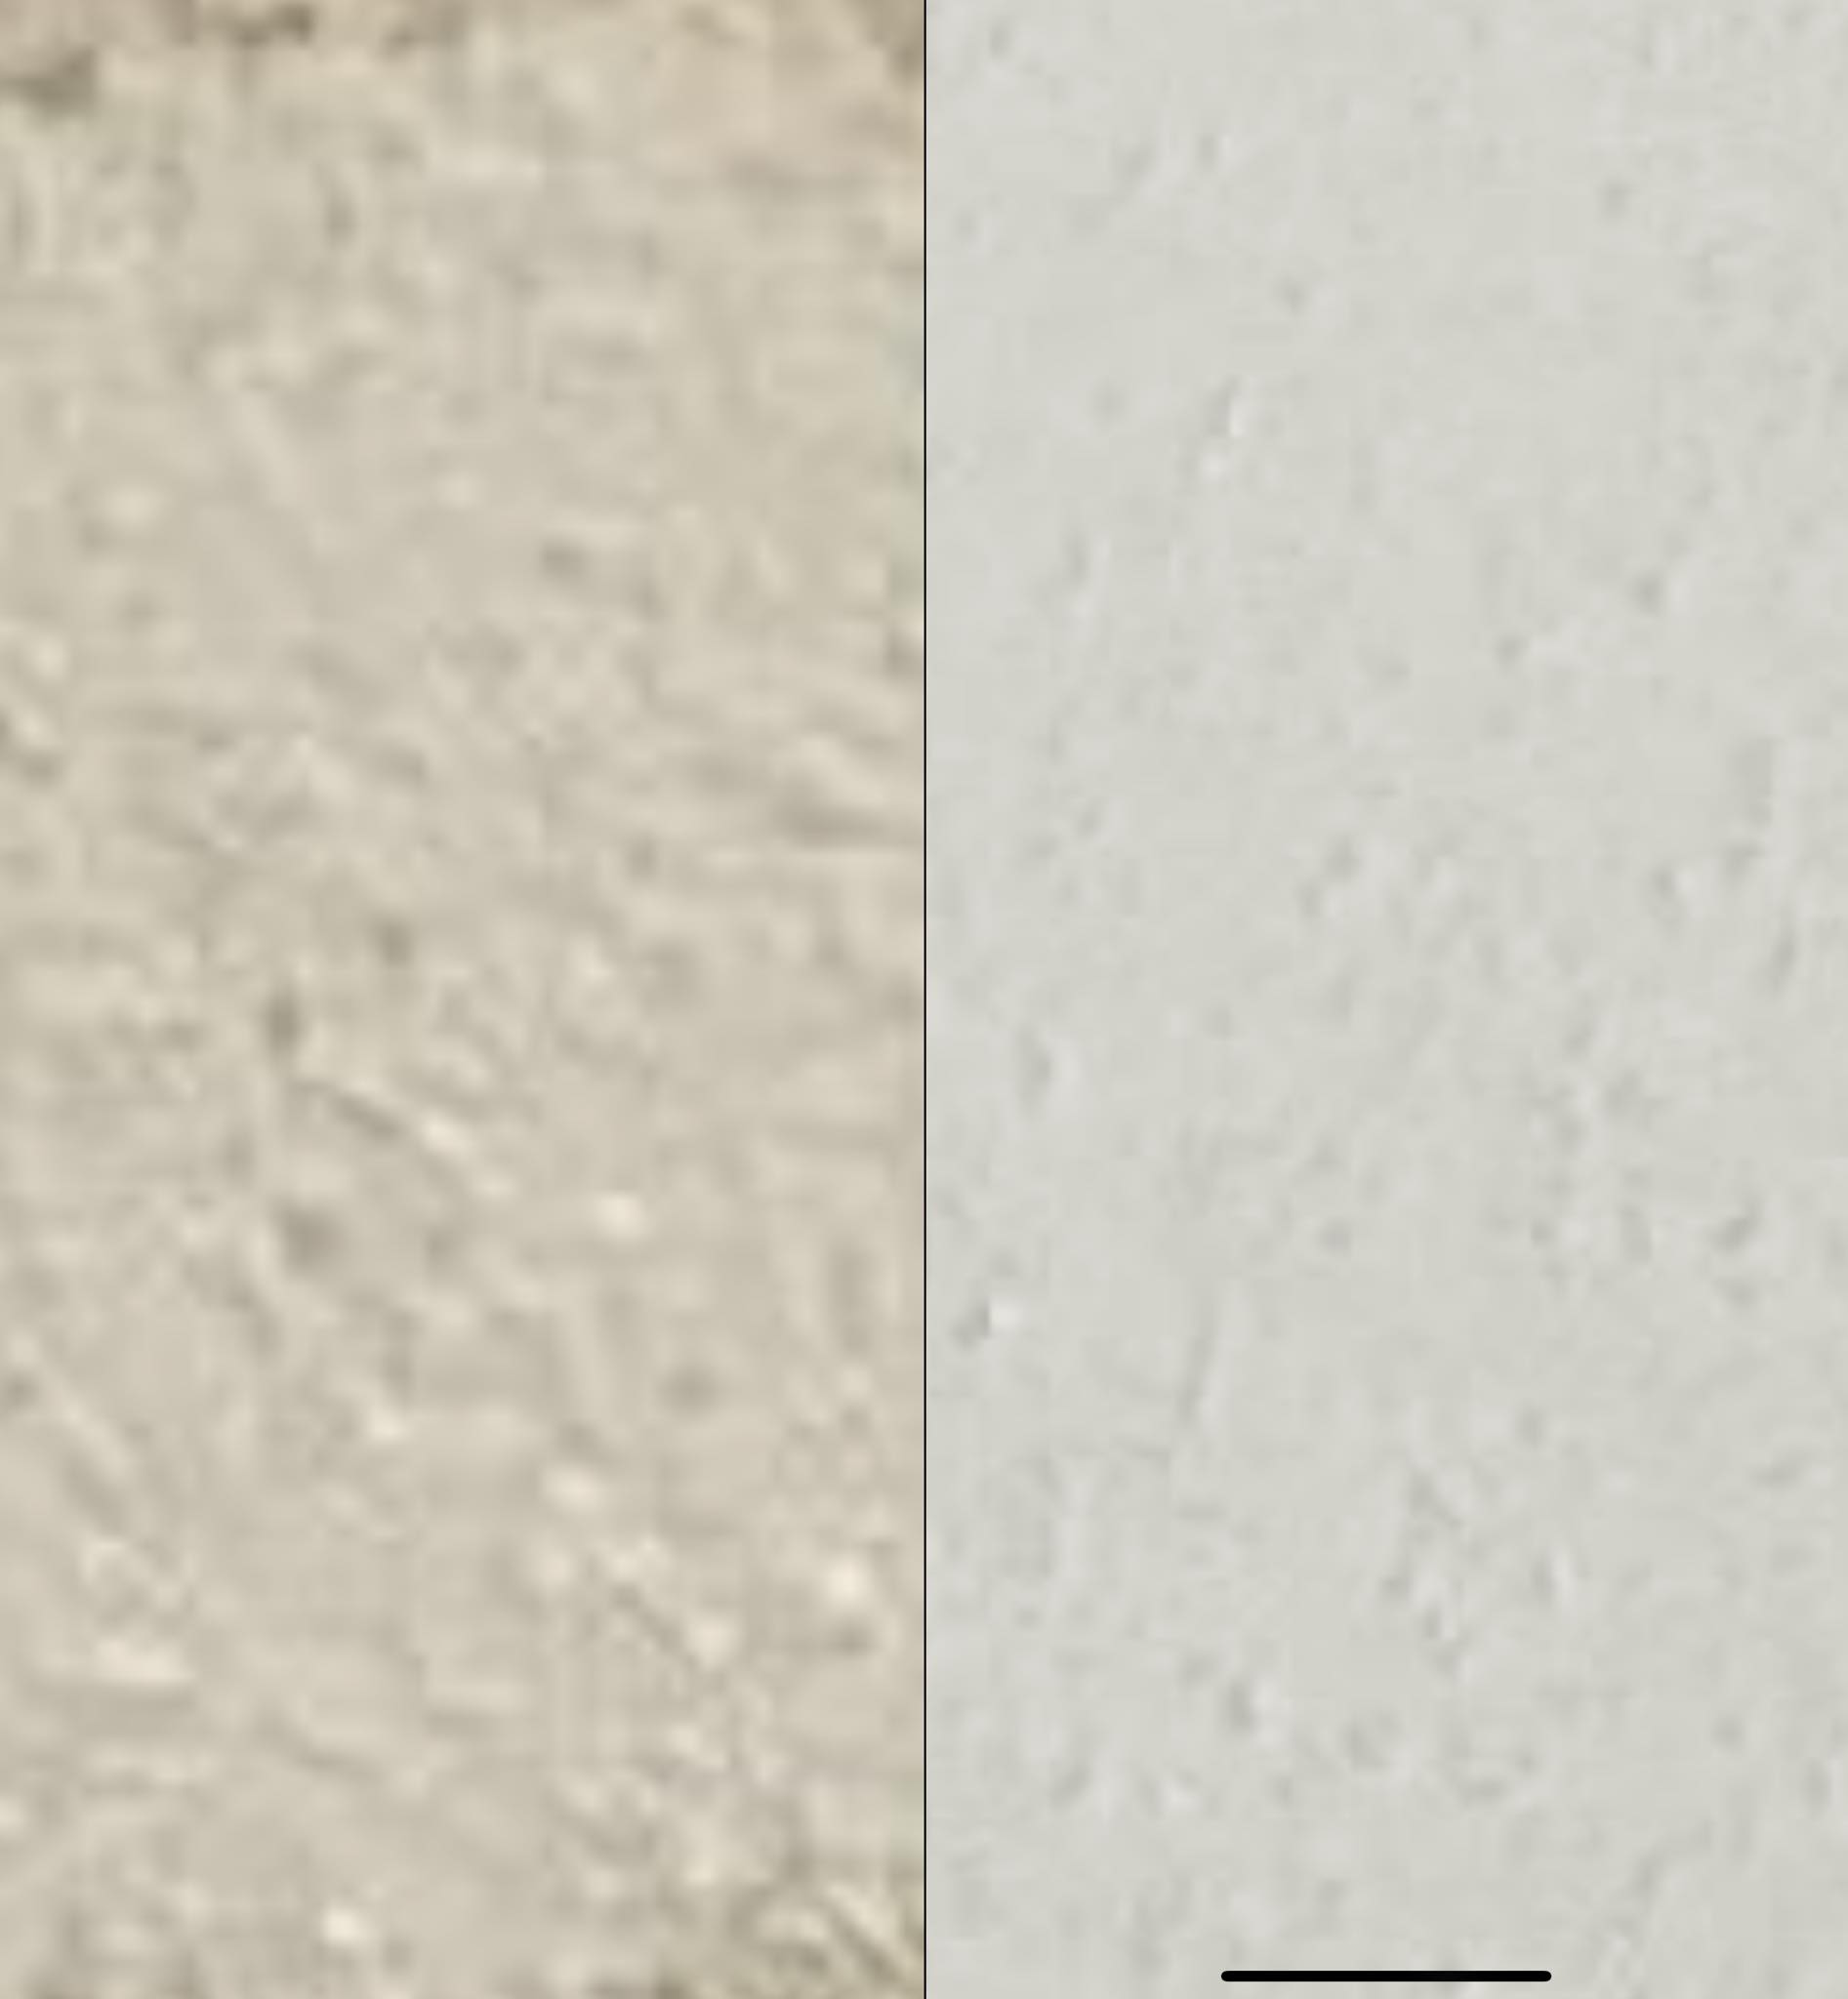
I wet sanded my SNES to remove yellowing. Mine was not as deep as many systems are so I was able to get most of it by only removing the top textured layer.
I’m not finished but it’s all the hand sanding I could handle at one time. I’m going to get some more precise sanding instruments for the corners and edges. I’m going to finish smoothing all the texture out and have it clear coated based on some suggestions of others from another post. I’ll also finish off the poor on/off lettering and use red and green paint for the off and on indents.
Overall I am pleasantly surprised by the outcome so far.
This post has been captured from our very own retro gaming group over at FB


Why sand instead of peroxide?
Definitely looks good but man you worked much harder on this one then you should have.
Looks great! That hard work paid off. 👍
+1 for Peroxide in a bucket lined with foil and a UV light above for 24 hours.
This is the way
Easier method, hydrogen peroxide(the strong stuff) and a uv light. Will make it look brand new with none of the work
Everyone saying why sand not peroxide, ive seen peroxide jobs need re done after not a ton of time, i would assume the sanding job is a more reliable / permanent / no risk of re yellowing solution.
Just use hydrogen peroxide and UV light it de yellows plastic
what sandpaper did you use? I tried retrobrighting with peroxide many times, but I am curious to try out this method.
Magic eraser wouldn’t work?
All that sanding, shoulda asked in advance. Just use peroxide and UV light man