 Retro-Replay.com Retro gaming reviews, news, emulation, geek stuff and more!
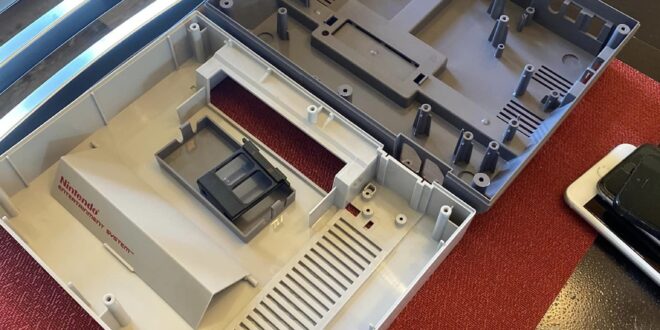
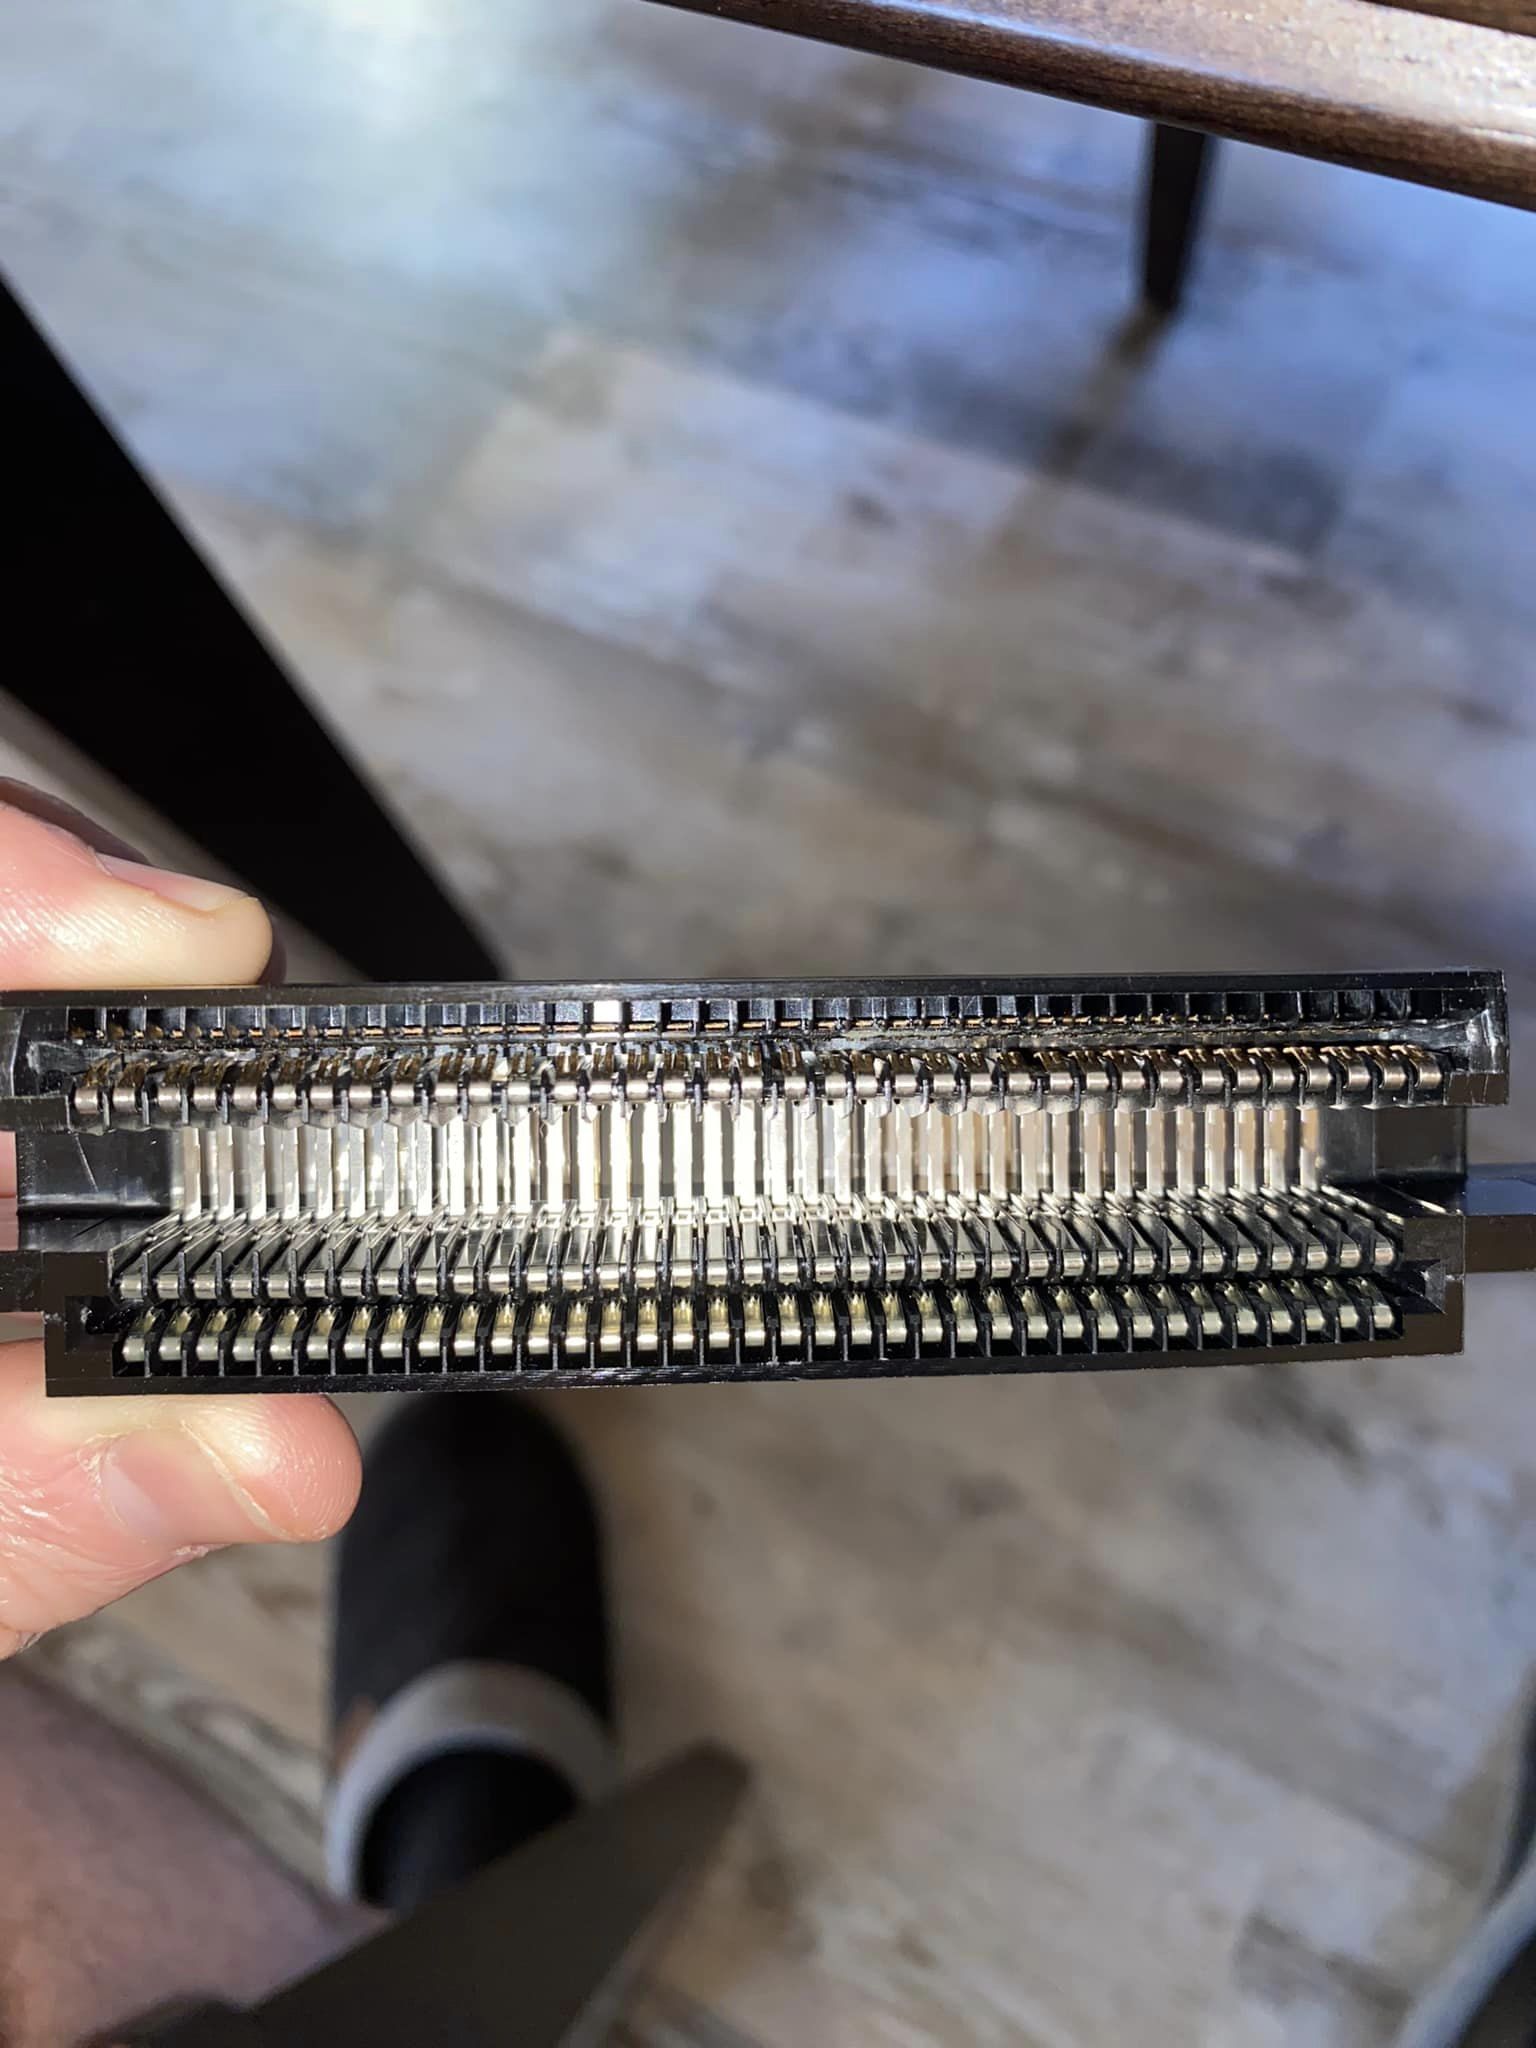
Hey everyone, I need some advice. A friend gave me his old NES, that started with a red blinking light. I have totally taken it apart, cleaned everything. It was honestly in really good condition. I bent the pins up on the 72 pin connector and boiled it for 20 minutes, after 10 inserting a relatively clean cart in and out about 15/20 times, then boiling another 10 minutes. I used 99.9% IPA to clean the pins afterwards also. I used the IPA to clean the motherboard pins that the 72 pin connector grab on too (front and back), as well as all of the motherboard, including the AV little box. It all looks super clean, and when I put it all back together the first attempt, my test game worked. In the next 24 hours I sit down and open up all of my games and clean the pins from scuffed/black marks/dirt to gold shiny pins with IPA, eraser, and some light magic eraser. After all of this, I go to test my games, and on every one I get red blinking light with blue screen. The only thing I can think is that the 72 pins looked a little rusted/maybe a little corrosion that boiling and scrubbing with IPA didn’t totally take care of. Also I noticed a scratch on one of the pins on the motherboard where the 72 grabs on. The games’ pins all look mostly shiny and clean/ maybe a tiny discoloration on a slim few. Kind of disappointed that it worked first try, and I put in all of the effort to not ever put a dirty game back in this thing and now it’s done again. Also the lockout chip is still in tact, but doesn’t seem to be the problem. I can wiggle the games and get distorted colors/ even some main screens in between the flashing. Any help would be super appreciated. Thank you for coming to my TEDtalk.
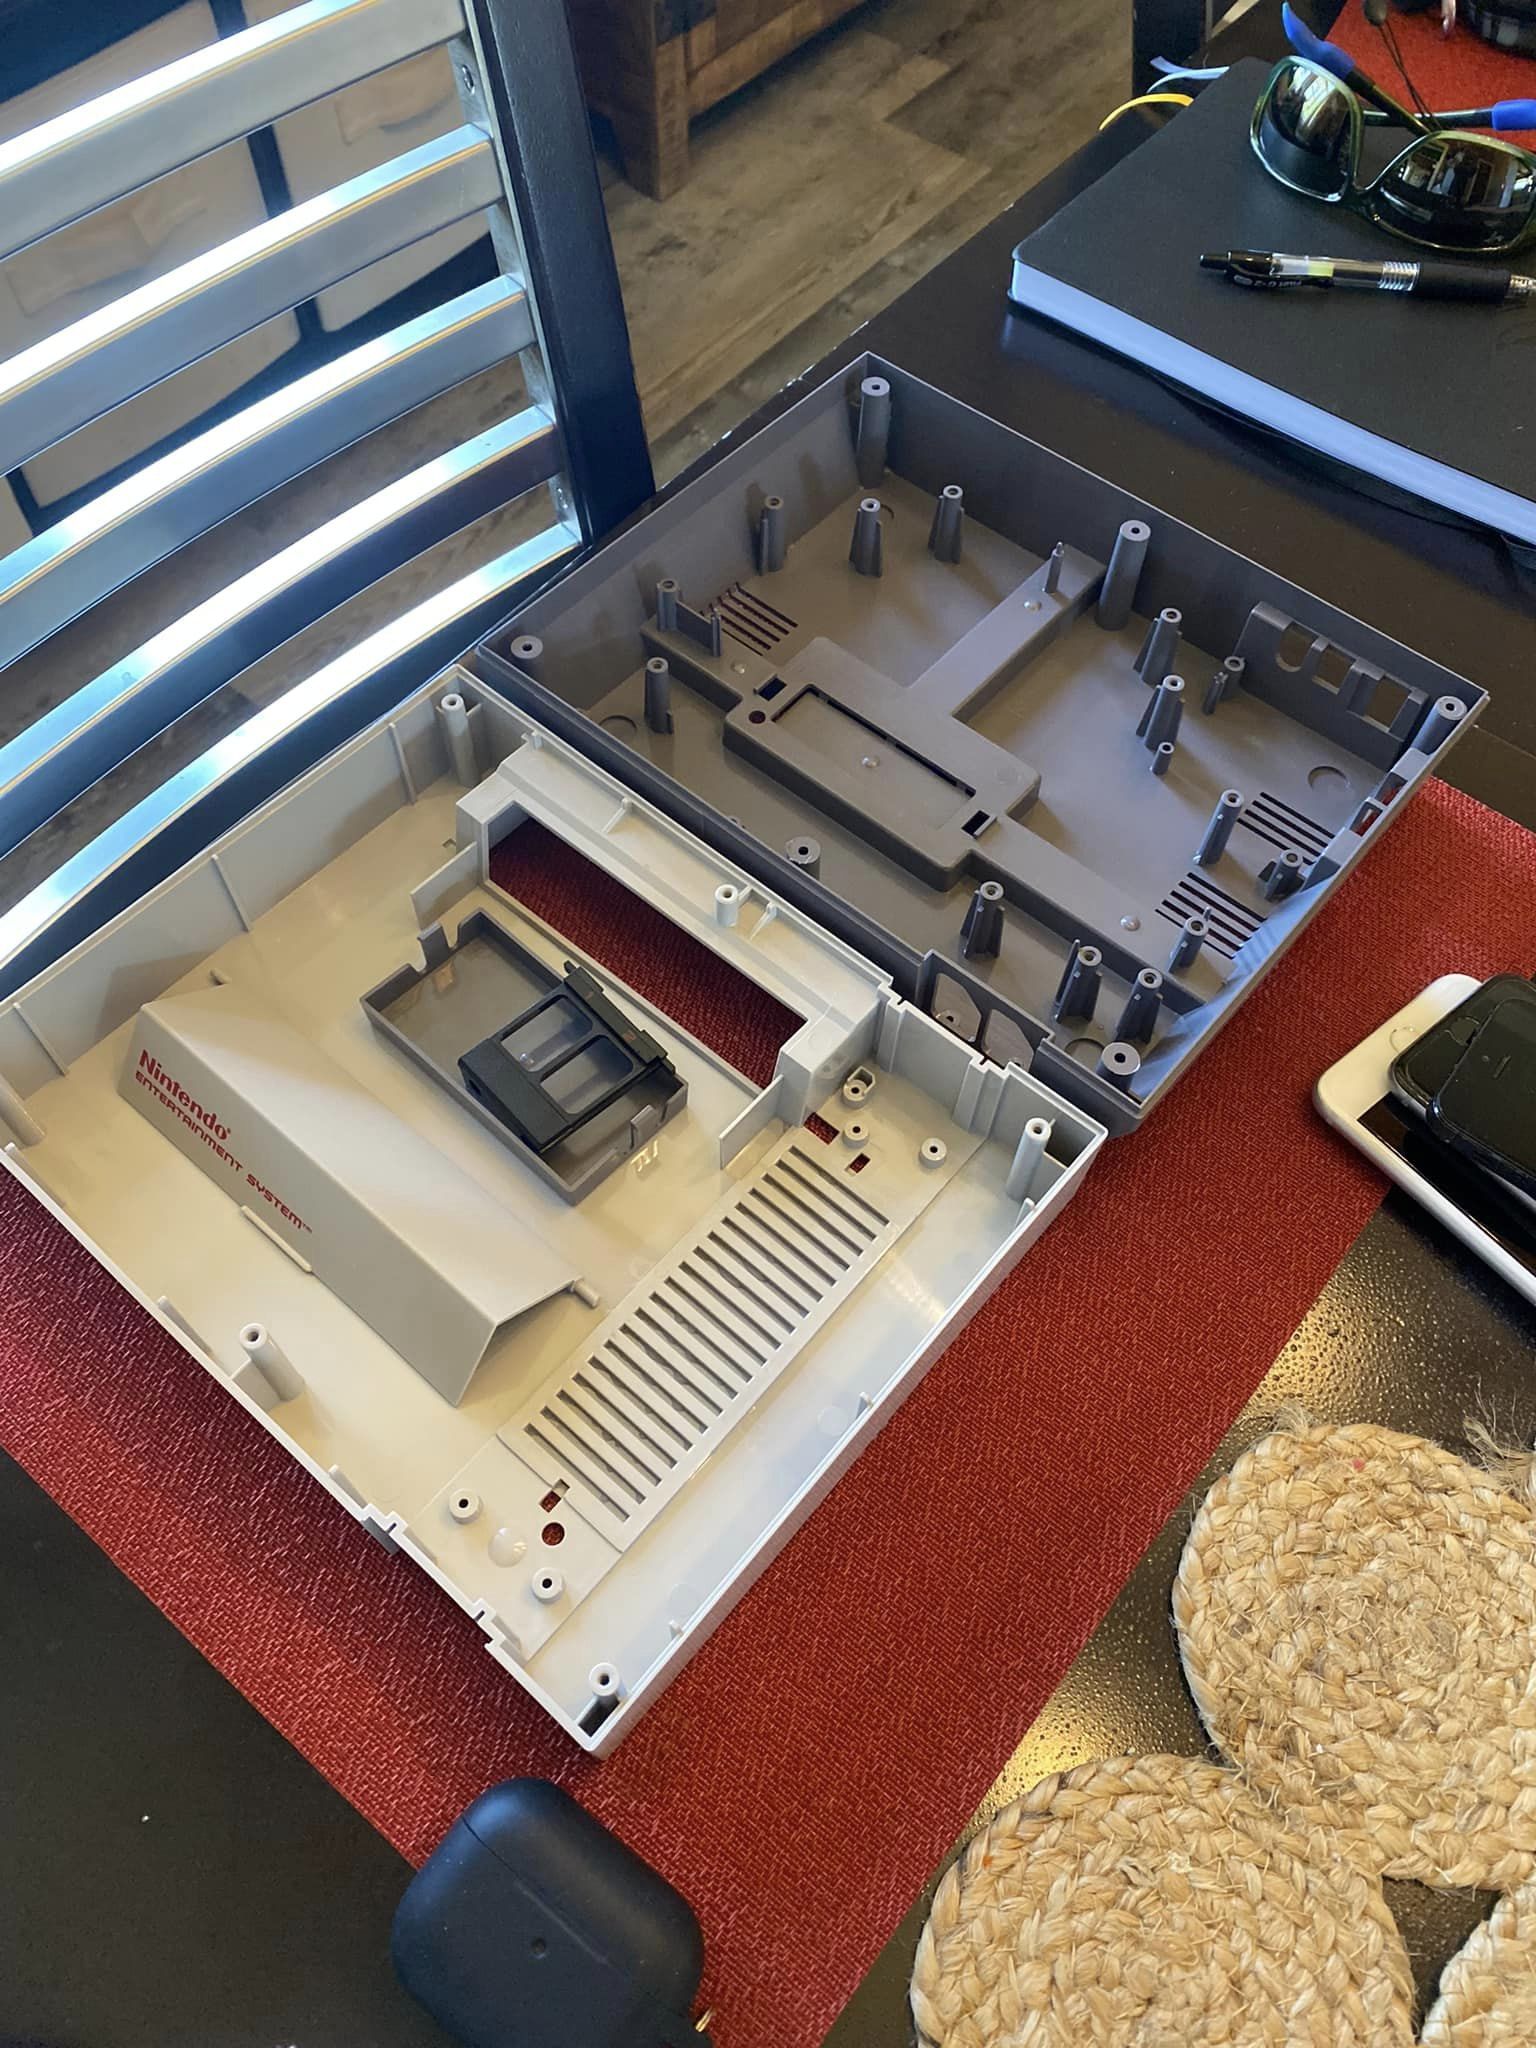
P.S. the picture of the 72 pin connector was prior to cleaning them, and I had only started (halfway) bending the pins up to show a friend my progress.

This post has been captured from our very own retro gaming group over at FB


I would recommend using DeoxIT D100L contact cleaner and 99% isopropyl alcohol to clean all the pins and contacts. You can use these on the console and on games. I would avoid using sandpaper or harsh chemicals. You can also disable the NES lockout chip by soldering two wires. Other methods are irreversible and cause damage. I also boiled the original NES connector for 30 minutes. I have restored several nonworking NES consoles. Games work perfectly on the first try almost every time. Happy to help further if needed. Good luck!
Did you try blowing on it?
Seems to me you made a mountain out of an ant hill so far the connectors I buy have never let me done just finished refurbishing a nes today for a friend whole new shell since his brother broke the other he got a Smokey black transparent console and matching controller but good luck to you
Sometimes the lockout chip that was used to prevent running imported games goes mad, try cutting the 4th pin of the 10nes chip to disable it 👌🏻
If that sounds obscure to you follow this video!
https://youtu.be/sCPoHklnnNk?si=t-FyCdjrfJ1ZRj4J
Post a video of you putting in the game. It sounds like you don’t have the touch.
General PSA: Taking electronics apart on towels, carpets, etc is a horrible practice and people need to stop doing it. If you’re going to take consoles(or game cartridges for that matter) apart, go buy an ESD mat and ground it. Preferably also ground yourself with an ESD strap. Can fry/damage components with ESD(Electro-static discharge) taking them apart like I see many people do online. Many times ESD damage is not immediately noticeable as it creates nanoscopic pinholes in the silicon that cause problems either immediately or slowly over time. Many games and consoles are likely to die from this in the future.
EE nerd rant aside, the connector could not be on the board completely straight, or all the pins are not bent evenly. Do not sand them like someone else here recommended. That’s a horrible idea especially on games and will reduce the connector cycles before failure. It’s also possible a trace coming from the connector on the NES motherboard is damaged, or one of the chips got damaged from ESD. Impossible to tell from photos posted. You could check that with a thorough visual inspection of the board or a multimeter but you’d have to know how to follow board traces to do the latter. Even after replacing/refurbishing pin connectors games often need wiggled/finessed to work correctly, it’s normal for the NES.
Hope you figure it out.
This is always something that makes me sad with NES’s… i run into this a lot, spend a ton of time trying to fix them and sometimes everything I do just doesn’t get them working the way I want. I would say like 1 or 2 out of every 10 NES I work on just won’t work unless I swap out the connector with a death grip one.
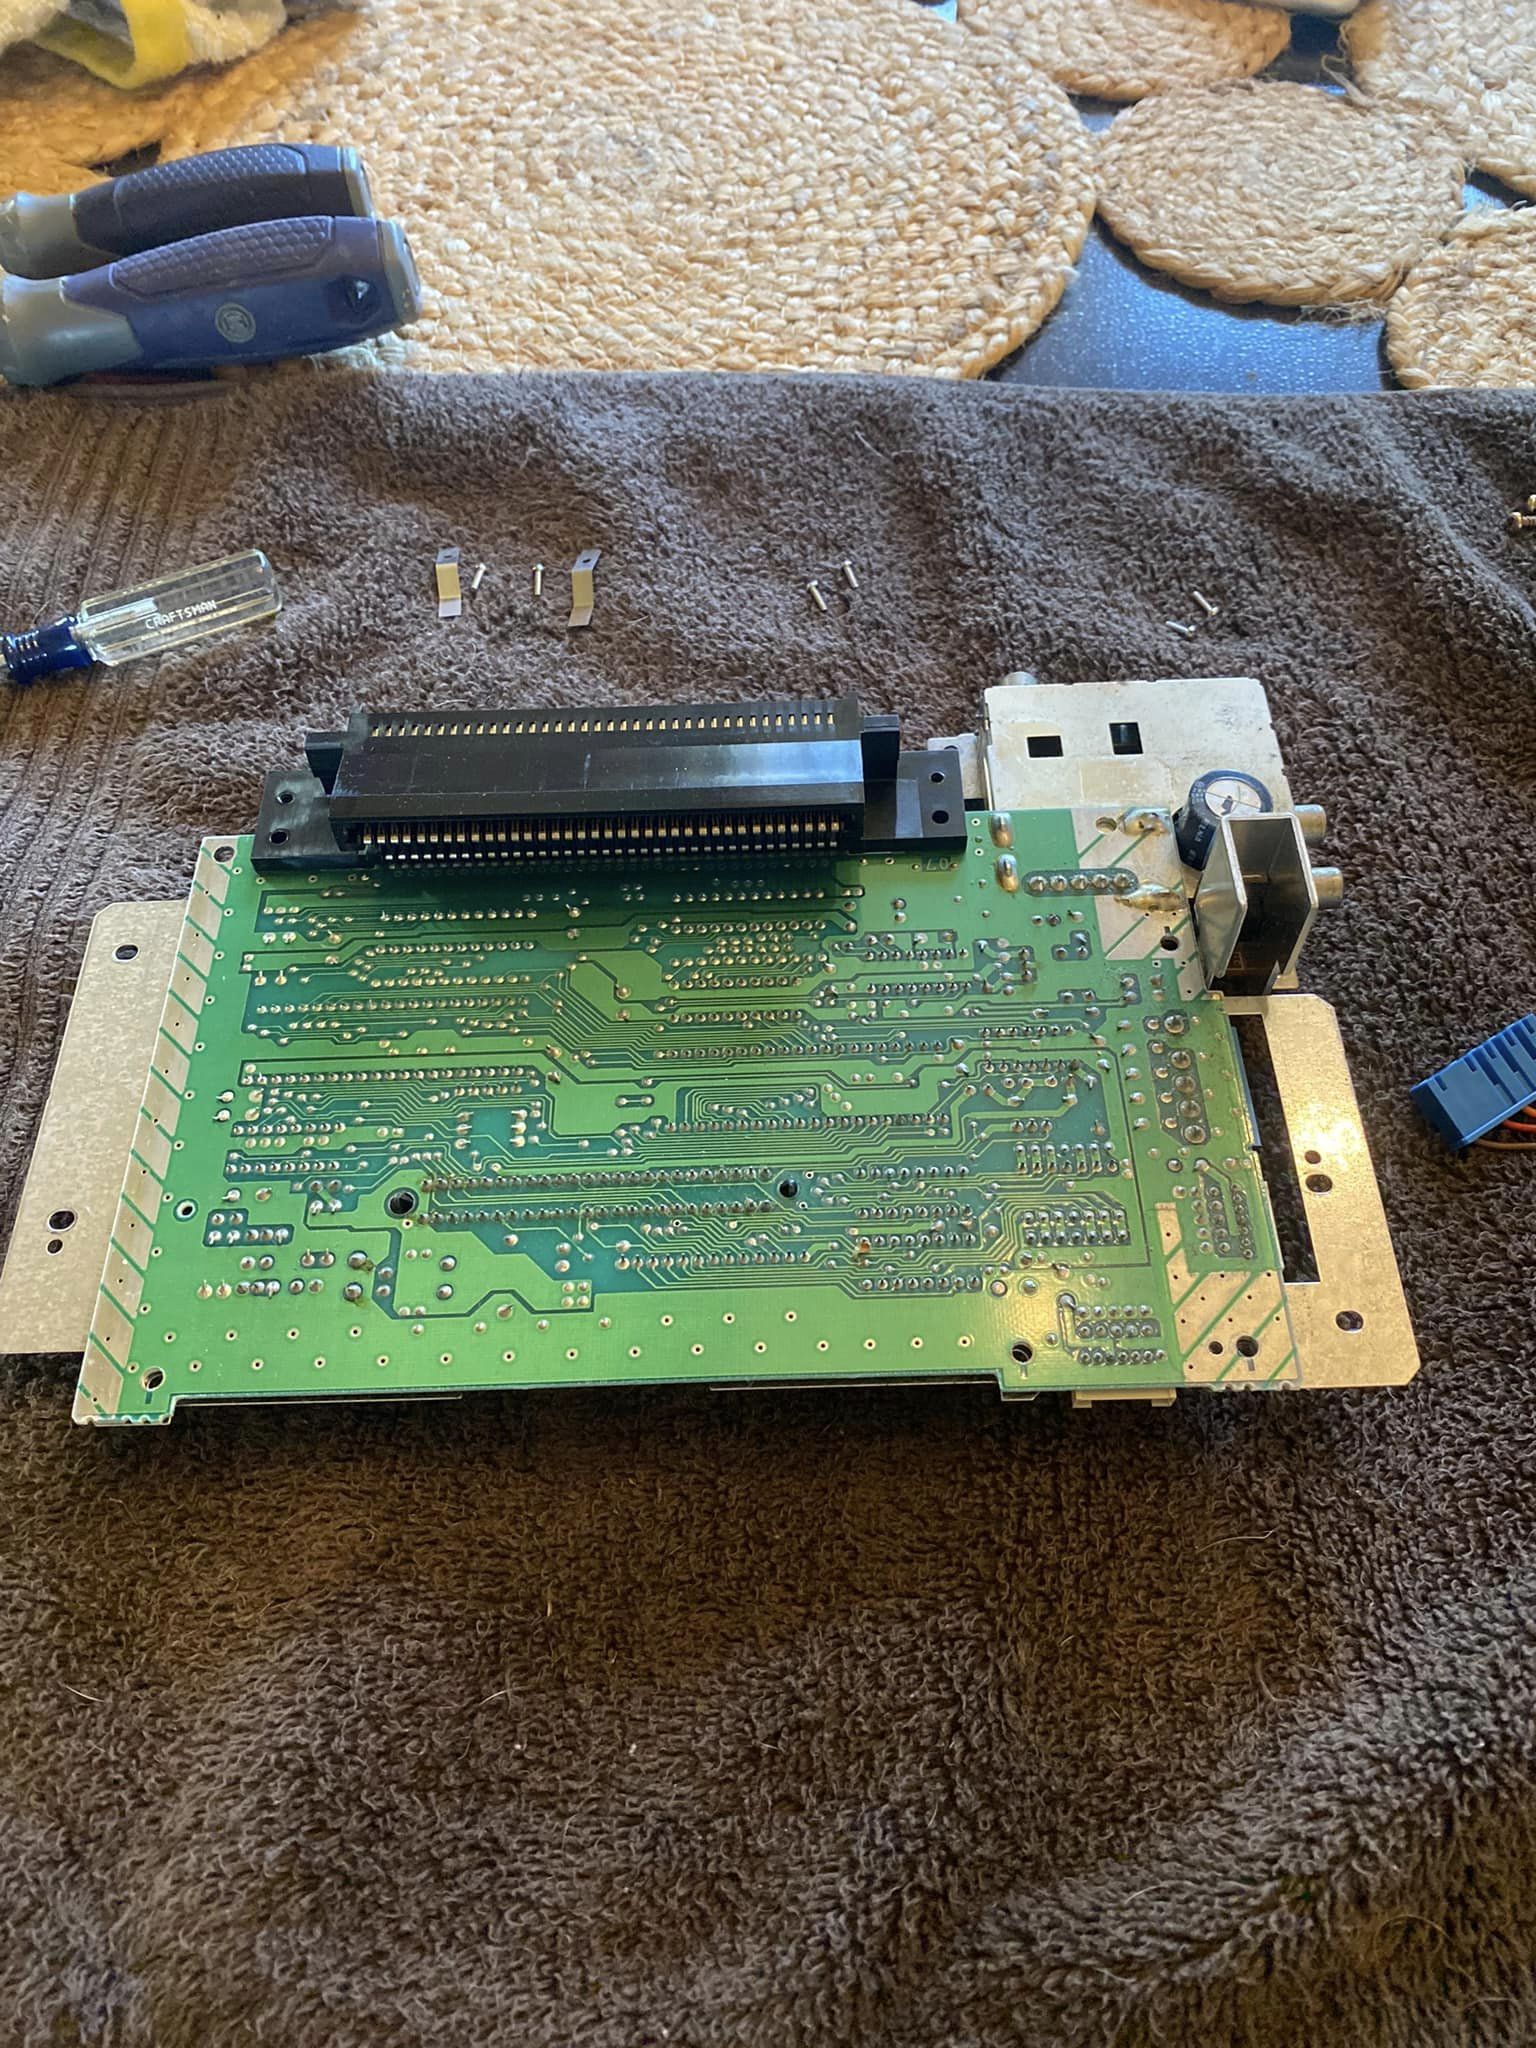
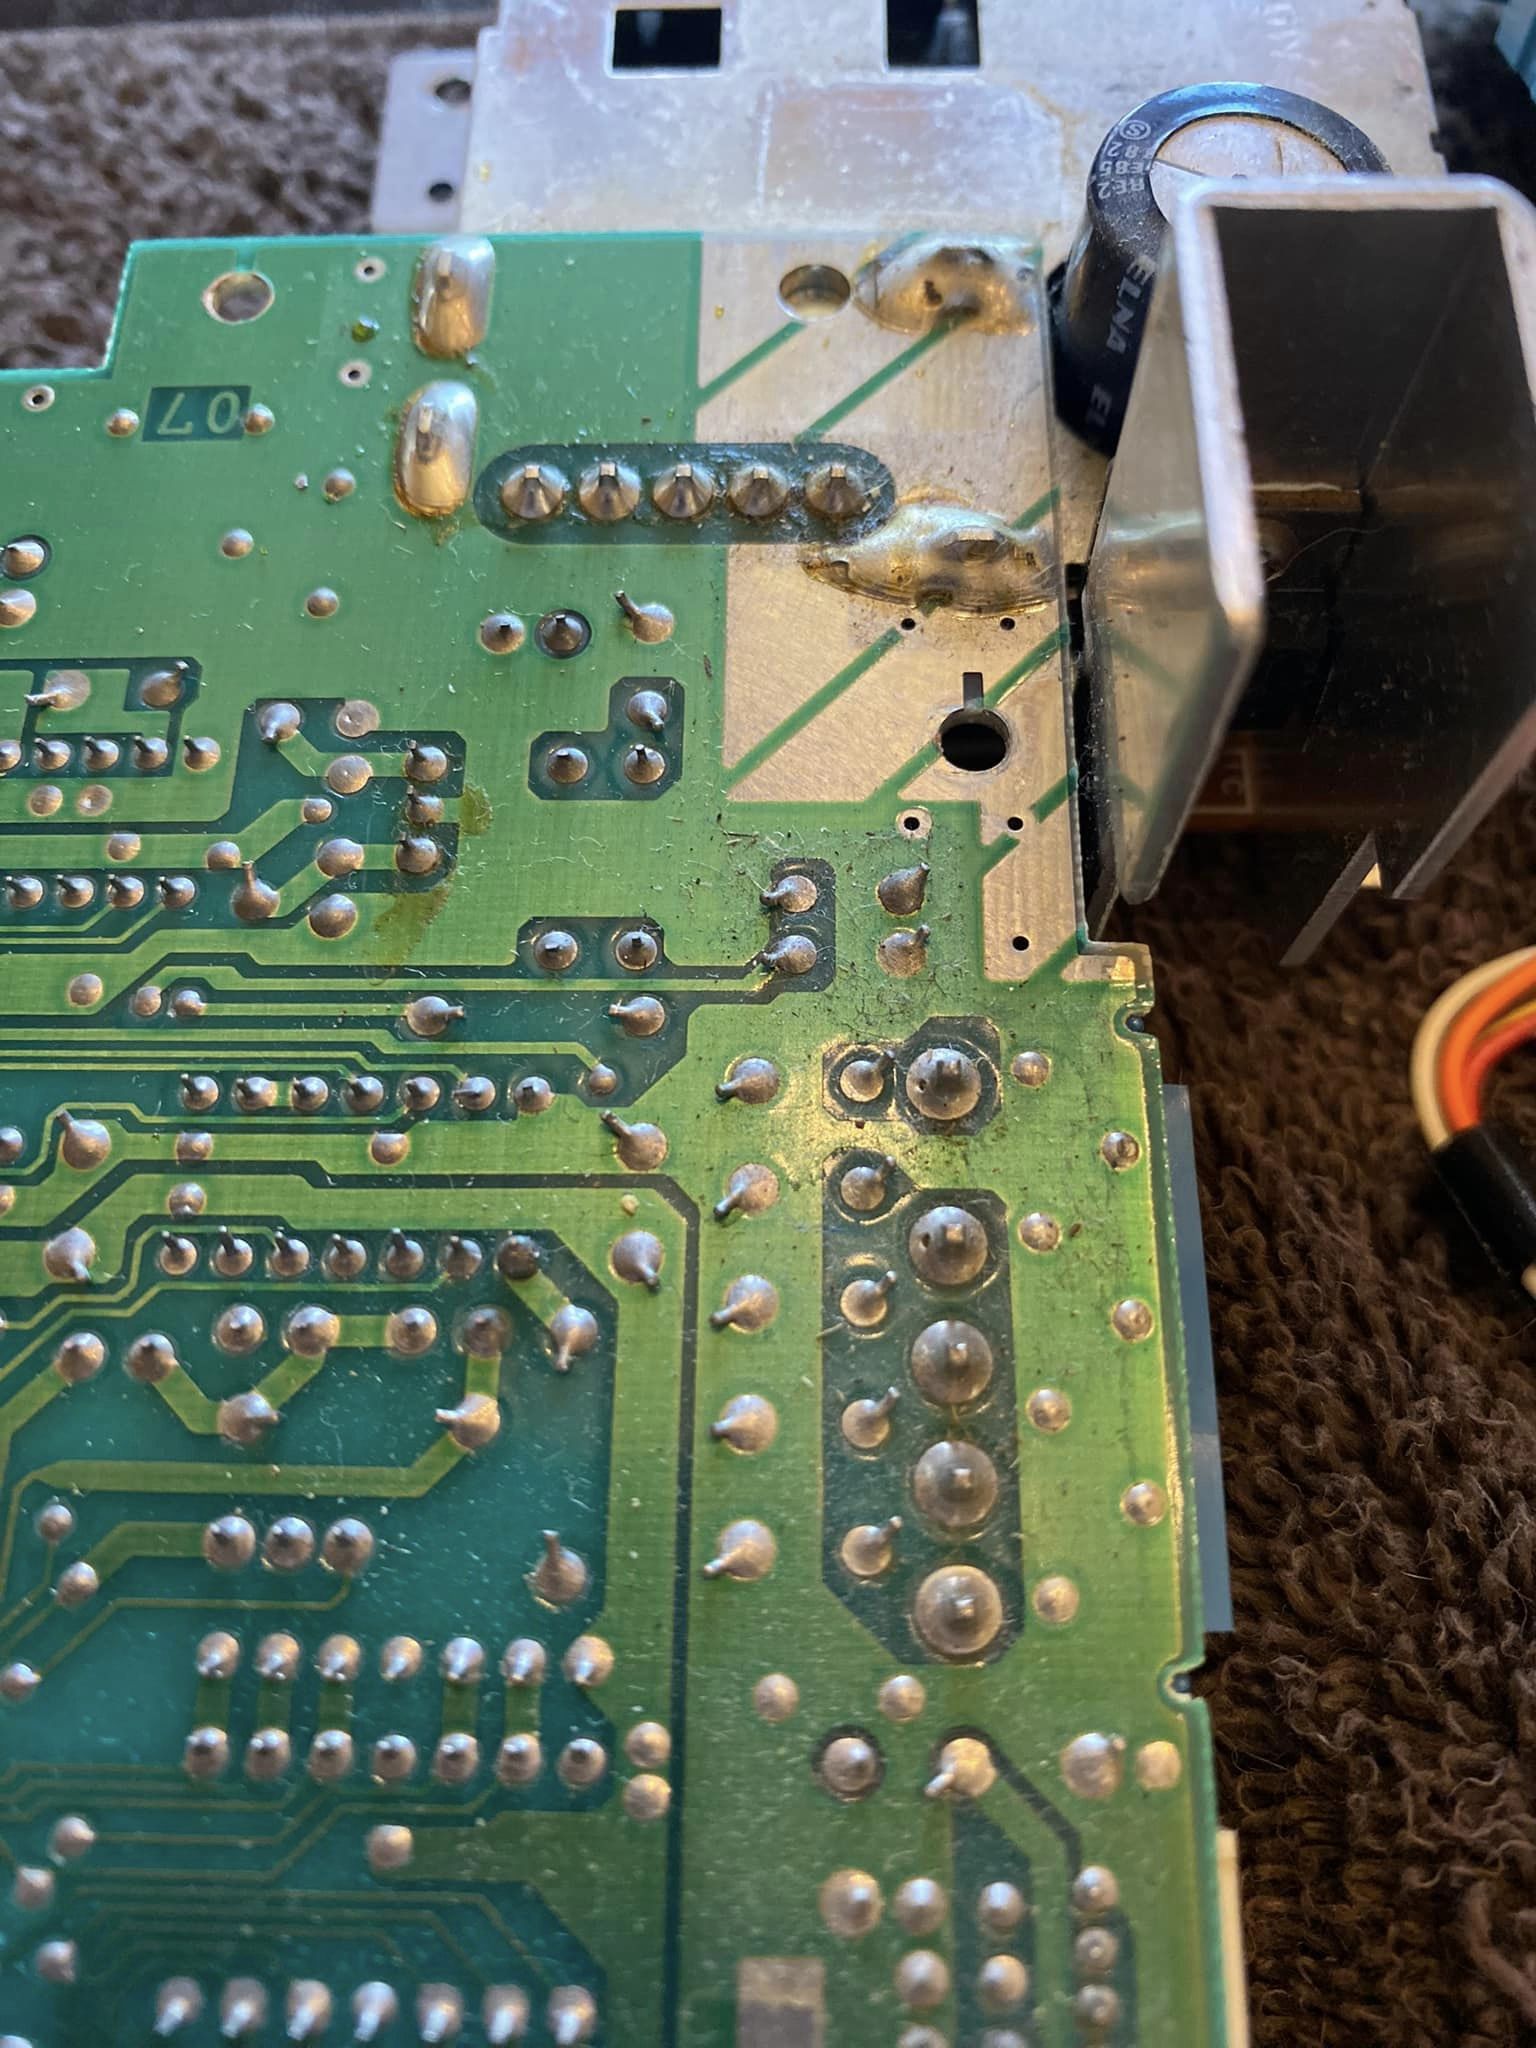
Pay attention to these connections. I had the same blinking light issue and it ended up being just one of these tabs having a tiny spot where it had been scratched all the way through where the pin connector sat. I fixed it by flowing a thin layer of fresh solder over the bad spot and it’s worked like a charm ever since! 👌
Replace the pins.
a few things you could do; replacing the caps can help, disabling the lockout chip, bending the 72 pin connector enough so you don’t have to push the slot down to load games, in some rare case reflowing the PPU can also make a difference if you observe a similar behavior with different cartridges.
Get some contact cleaner. I found that Deoxit works wonders for NES carts and the pin connector. It’s possible though that your pin connector is toast and you’ll need to replace it. If you do, be sure to get an OEM one and not one of those cheap aftermarket replacements. Also, don’t bend the pins. Just boil and clean with contact cleaner. Bending the pins will cause them to scrape against the cartridge pins and wear themselves and your games out unevenly.
Did you try closing the pins a bir more so they make better contact with the cart fingers?
I have usually boiled those connectors about 60min or so and then soaked it in IPA for 15minutes. All consoles i have done that have worked great with my games
on the motherboard where the 72 pin connector attaches, take some very fine sand paper and shine them on both sides. sometimes the 72 pin connector could be fine, but the board has a layer of grime that’s not making a good connection
You can try disabling the lockout chip. Just google it/watch some videos on it if you hadn’t heard of it. It won’t hurt the nes. Just have to severe one connection on the chip.
Why not just replace the 72 pin connector? They are not very expensive, and you certainly have the know how.
Have you replaced the capacitors?