 Retro Replay Retro Gaming History, Reviews & Emulation
COMMODORE 64 AMIGA EMULATOR
amiberry
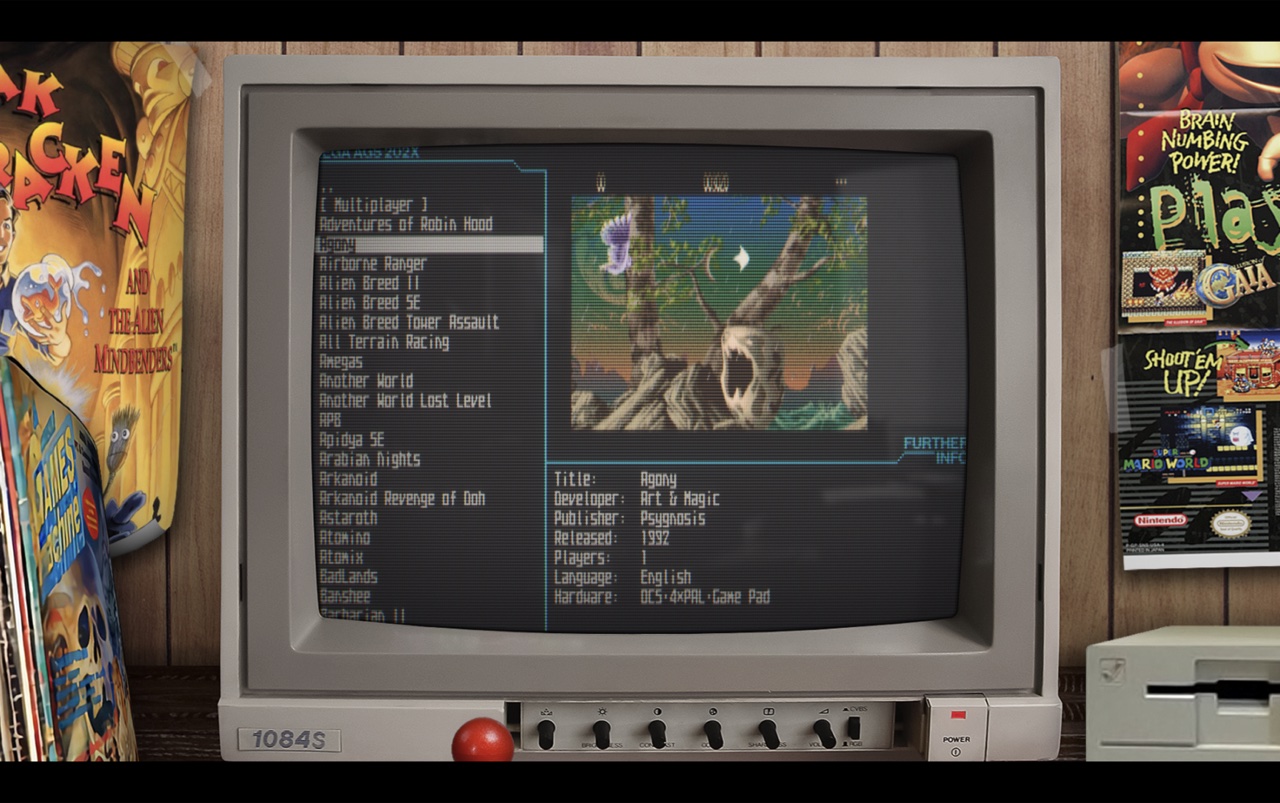
Amiberry is an optimized, open-source Amiga emulator derived from UAE code and maintained by Blitter Studio. It targets ARM single-board computers (Raspberry Pi series) but also runs on x86_64 Linux, Windows, macOS (including Apple Silicon), Android and other platforms. Amiberry focuses on performance and practical usability (JIT, RTG support, controller and
WHY IT MATTERS
Why use Amiberry?
Amiberry provides a performant, actively maintained Amiga emulation that is tuned for ARM devices (Raspberry Pi) while still supporting desktop platforms. It offers a modern GUI, performance-oriented JIT work, support for common Amiga models (A500/A1200/CD32), RTG/ZZ9000 features, RP9 package support and integration points used by popular Amiga-focused distributions and frontends.
BEST FOR
Best for
People who want a fast, practical Amiga environment on Raspberry Pi or other SBCs; users who prefer a single actively developed cross-platform Amiga emulator with modern packaging (binaries, Flatpak, GitHub releases) and features like save states, shaders, RP9/WHdLoad support.
The people behind amiberry
History & status
Amiberry began as an ARM-optimized fork of UAE-derived Amiga emulation code and has grown into a cross-platform project maintained by Blitter Studio. Over multiple major releases the project added x86_64 JIT support, improved platform packaging, RTG/ZZ9000 work, RP9 support and wider platform builds (Windows, macOS, Linux, Android, Flatpak). The project is actively maintained and publishes frequent releases and binary packages via its GitHub releases page. Community distributions (AmiKit, various Raspberry Pi images, Retro-focused OSes) commonly include or recommend Amiberry as their Amiga runtime.
What amiberry supports
- Raspberry Pi (ARM64/ARMv7)
- Linux x86_64
- Windows x86_64
- macOS (Intel and Apple Silicon)
- Android (various)
- Flatpak / Flathub packaging
Download and availability
OFFICIAL DOWNLOADS
Get amiberry
Official binaries and source are published on the project's GitHub Releases page. Alternative packaging exists (Flatpak on Flathub, distribution packages, community-built installers).
Get amiberry ↗DOCUMENTATION
Official documentation
Read the official configuration, compatibility, and troubleshooting material before changing advanced options.
Read official documentation ↗amiberry setup guide
Setup note: This guide covers practical setup steps common to most host platforms: obtaining Amiberry, preparing Amiga firmware/ROMs, creating or obtaining disk images/RP9 packages, configuring Amiberry for a specific Amiga model, and running software. It assumes you will provide any copyrighted firmware or game files yourself; Amiberry does not include commercial ROMs or BIOS files.
- 1) Verify requirements and pick build: Choose a host build appropriate for your hardware: Raspberry Pi builds and Amiberry-Lite are recommended for lower-powered SBCs; full Amiberry builds for modern Raspberry Pi 4/400 and desktop x86_64 (Linux/Windows/macOS). Check GitHub Releases for prebuilt installers and the project's website for platform notes. Ensure you have enough RAM and a reasonably recent OS — Raspberry Pi OS (64-bit) or a current x86_64 distro for Linux; supported Windows or macOS versions for desktop builds.
- 2) Obtain Amiga Kickstart / firmware: Amiberry requires Amiga Kickstart ROM images (and optionally other firmware) to boot real Amiga systems. These files are proprietary and must be obtained legally by the user (for example from your original hardware, Amiga Forever, or other legal sources). Place the Kickstart ROM files in a folder you will point Amiberry at (commonly named roms or kickstarts).
- 3) Download and install Amiberry: Go to the project's GitHub Releases page and download the appropriate package for your platform (tarball, DEB/RPM where available, Windows installer, macOS binary, Android APK, or flatpak from Flathub). For Raspberry Pi, some users prefer distribution-packaged versions or the Amiberry-Lite build for slower models. Follow the platform-specific installation method: extract and place the amiberry binary in a location in your PATH or install the provided package; for Flatpak, install from Flathub.
- 4) First run and directory layout: Start Amiberry once. It will create configuration directories; consult the Wiki or Amiberry directories documentation to locate the config folder on your platform. Typical subfolders you will use: cfg (config files), roms (Kickstarts), floppies (ADF), harddrives (HDF or directory as hardfile), rp9 (RP9 packages), shaders (optional).
- 5) Create or add disk images and RP9 packages: Use ADF files for floppy images and HDF/hardfile images or mapped directories for hard drives. RP9 is a convenient packaging format that bundles a configuration and disk images; Amiberry supports RP9 packages. Copy your legally obtained images to the appropriate folders and/or place RP9 packages in the rp9 folder if used.
- 6) Configure a machine profile: Open the GUI and create a new configuration for the target Amiga model (for example A500, A1200, or CD32). Select the corresponding Kickstart ROM, set CPU model and FPU options, memory (chip/fast), and enable RTG/ZZ9000 or graphics card emulation if needed. On low-end ARM boards prefer conservative CPU/JIT settings; more powerful hosts can use JIT and higher CPU models.
- 7) Input, controllers and mouse: Configure input in the Input section: map keyboard, joystick, gamepad and mouse. Amiberry supports common gamepads and can emulate a mouse or joystick. For accurate mouse behaviour with Workbench, enable relative mouse mode or use an attached USB mouse depending on the host.
- 8) Optional: WHDLoad, AHI, RTG and CD support: Amiberry supports WHDLoad packages, AHI audio, CD32/CD-ROM device mapping and RTG modes (including ZZ9000 work). WHDLoad and commercial game packages must be obtained by the user. For RTG/graphics expansions configure graphics card and preferences; for CD images, attach an ISO or cue/bin to the CD device in the GUI.
Software reminder: Amiberry does not include Amiga Kickstart ROMs, commercial games, or other proprietary files. Users must supply those files legally. Consult the project's Wiki and FAQ for detailed platform-specific build and runtime notes.
Sources and further reading
- Amiberry GitHub Releases (official release binaries & changelog)
- Amiberry — Blitter Studio (project site)
- Amiberry official site (documentation/privacy notices)
- Amiberry Wiki — Quick start guide (GitHub)
- Flathub packaging for Amiberry (Flatpak)
- FreeBSD ports entry for Amiberry
- Featured-image source and credit
Detailed guides and tutorials
Explore step-by-step guides for amiberry as they are published.
Use amiberry on Android
An Android ARM64 Libretro build exists for amiberry. Run the core through RetroArch for Android; the standalone desktop download and Android core may have different menus and features.
Emulates: Amiga.
Verified Android core build ↗ · Browse all Android emulators →