 Retro Replay Retro Gaming History, Reviews & Emulation
NES EMULATOR
Esp32-S3-nes-emulator-by-DSN
ESP32-S3 NES emulator that runs Nintendo Entertainment System ROMs on an ESP32-S3 microcontroller with ST7789 SPI display, I2S audio via MAX98357A, and SD-card ROM loading. The project is a fork/upgrade of esp-nofrendo aimed at portable DIY handheld builds.
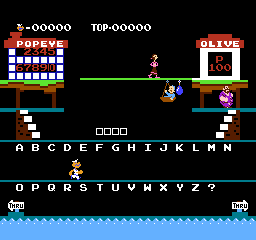
WHY IT MATTERS
Why this project matters
Brings playable NES emulation to low-cost ESP32-S3 hardware with integrated display and I2S audio, enabling compact handheld builds and experiments with embedded emulation on microcontrollers.
BEST FOR
Strengths / notable features
Designed specifically for ESP32-S3: optimized for full-speed NES gameplay on the MCU; supports ST7789 SPI TFT displays, I2S audio output via MAX98357A, and loading .nes ROMs from a FAT32 microSD card. Includes wiring/pinout guidance and a video walkthrough from the author.
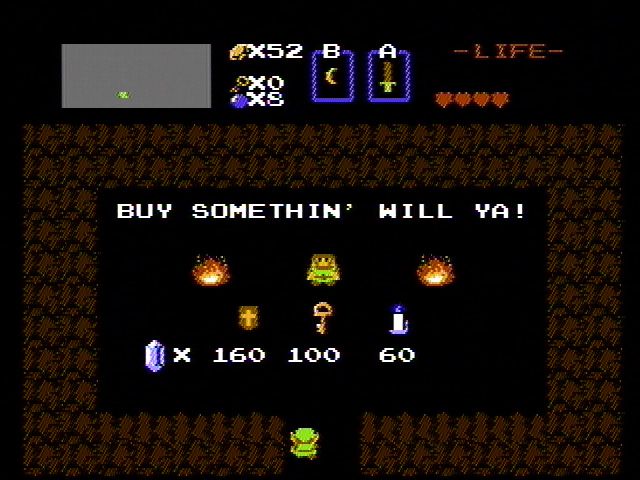
The people behind Esp32-S3-nes-emulator-by-DSN
History & provenance
The repository documents that the code is based on an esp-nofrendo implementation and has been substantially upgraded by the project author (DSN). The project is active (regular commits and related YouTube/tutorial material), and the author publishes variant repositories (a universal version and an ESP32 version). The project repurposes known nofrendo-derived NES emulation code for the ESP32-S3 platform and provides hardware wiring and build instructions targeted at hobbyist handhelds.
What Esp32-S3-nes-emulator-by-DSN supports
- Nintendo Entertainment System (NES) ROMs (.nes)
- ESP32-S3 microcontrollers (DevKit / modules)
- ST7789 SPI-based TFT displays
- MAX98357A I2S audio amplifier (I2S audio output)
- Micro SD card (FAT32) for ROM storage
- Arduino IDE (project recommends) and ESP toolchains for flashing
Download and availability
OFFICIAL DOWNLOADS
Get Esp32-S3-nes-emulator-by-DSN
Official source and releases are hosted on the project's GitHub repository. Binary releases (if any) and source are available via the repository's Releases and Tags pages. Download source and release assets from the repository to build and flash yourself; the project does not include commercial ROMs or BIOS files.
Get Esp32-S3-nes-emulator-by-DSN ↗DOCUMENTATION
Official documentation
Read the official configuration, compatibility, and troubleshooting material before changing advanced options.
Read official documentation ↗Esp32-S3-nes-emulator-by-DSN setup guide
Setup note: Practical setup notes — follow these steps on a desktop with USB access to your ESP32-S3. The README recommends verifying pin assignments in hw_config.h before flashing. This guide assumes basic familiarity with flashing ESP32 boards and wiring SPI/I2S peripherals.
- 1) Get the source: Clone the official repository from GitHub. Example: git clone https://github.com/derdacavga/Esp32-S3-nes-emulator-by-DSN.git. Inspect README.md and hw_config.h immediately after cloning to confirm intended pins and optional configuration flags.
- 2) Choose toolchain / IDE: The repository README mentions using the Arduino IDE. Confirm which build system is used by the top-level project files (Arduino library.properties and examples are present). If you prefer ESP-IDF, verify branch/variant support first — the author also references separate repositories for ESP-IDF/other versions.
- 3) Verify and wire hardware: Follow the repository's documented wiring: ST7789 SPI connections (power, SCLK, MOSI, RST, DC), SD card SPI pins, and I2S pins for MAX98357A (LRC, BCLK, DIN). The README provides example GPIO assignments but explicitly warns to verify hw_config.h for the actual pin definitions used by the firmware. Connect controller buttons to designated GPIOs with the other side to GND.
- 4) Prepare SD card and ROMs: Format a microSD card as FAT32. Copy your legally obtained .nes files to the card root. The project expects standard iNES-format .nes ROMs; do not assume all mapper support—unsupported mappers will likely be rejected or show an error message implemented by the project.
- 5) Install dependencies / libraries: If using Arduino IDE, install any libraries referenced by library.properties. Check the project's README and library.properties for specific dependencies (display, SD, I2S/audio). Ensure your ESP32-S3 board package is installed in the IDE and select the correct board and COM port.
- 6) Build and flash: Compile and upload to the ESP32-S3 via USB from the IDE or a compatible toolchain. The README lists typical steps: select board/port, verify hw_config.h pin assignments, then upload. Monitor serial output for boot messages and any runtime errors (e.g., missing SD card, unsupported ROM).
- 7) Troubleshooting & adjustments: If the display is garbled or colors inverted, consult the display driver options and any invert/color flags in the code. If audio is absent, confirm I2S pinout and amplifier wiring and the I2S configuration in code. If games fail to run, try simpler ROMs (NROM mapper 0) first to validate basic CPU/APU/PPU paths.
Software reminder: The project provides the emulator firmware source only. It does not include commercial ROMs, BIOS, or copyrighted game data — obtain ROMs legally if you intend to run them. Verify mapper compatibility for each ROM; the project derives from nofrendo-family code which typically supports a subset of common mappers.
Sources and further reading
- GitHub repository – Esp32-S3-nes-emulator-by-DSN (README, pinouts, instructions)
- YouTube: I Build a Working NES Emulator with ESP32-S3! (author video walkthrough)
- Hackster project page referencing the ESP32 NES emulator (project writeup)
- OSRTOS project summary for ESP32-S3 NES Emulator (third-party writeup)
Detailed guides and tutorials
Explore step-by-step guides for Esp32-S3-nes-emulator-by-DSN as they are published.