 Retro Replay Retro Gaming History, Reviews & Emulation
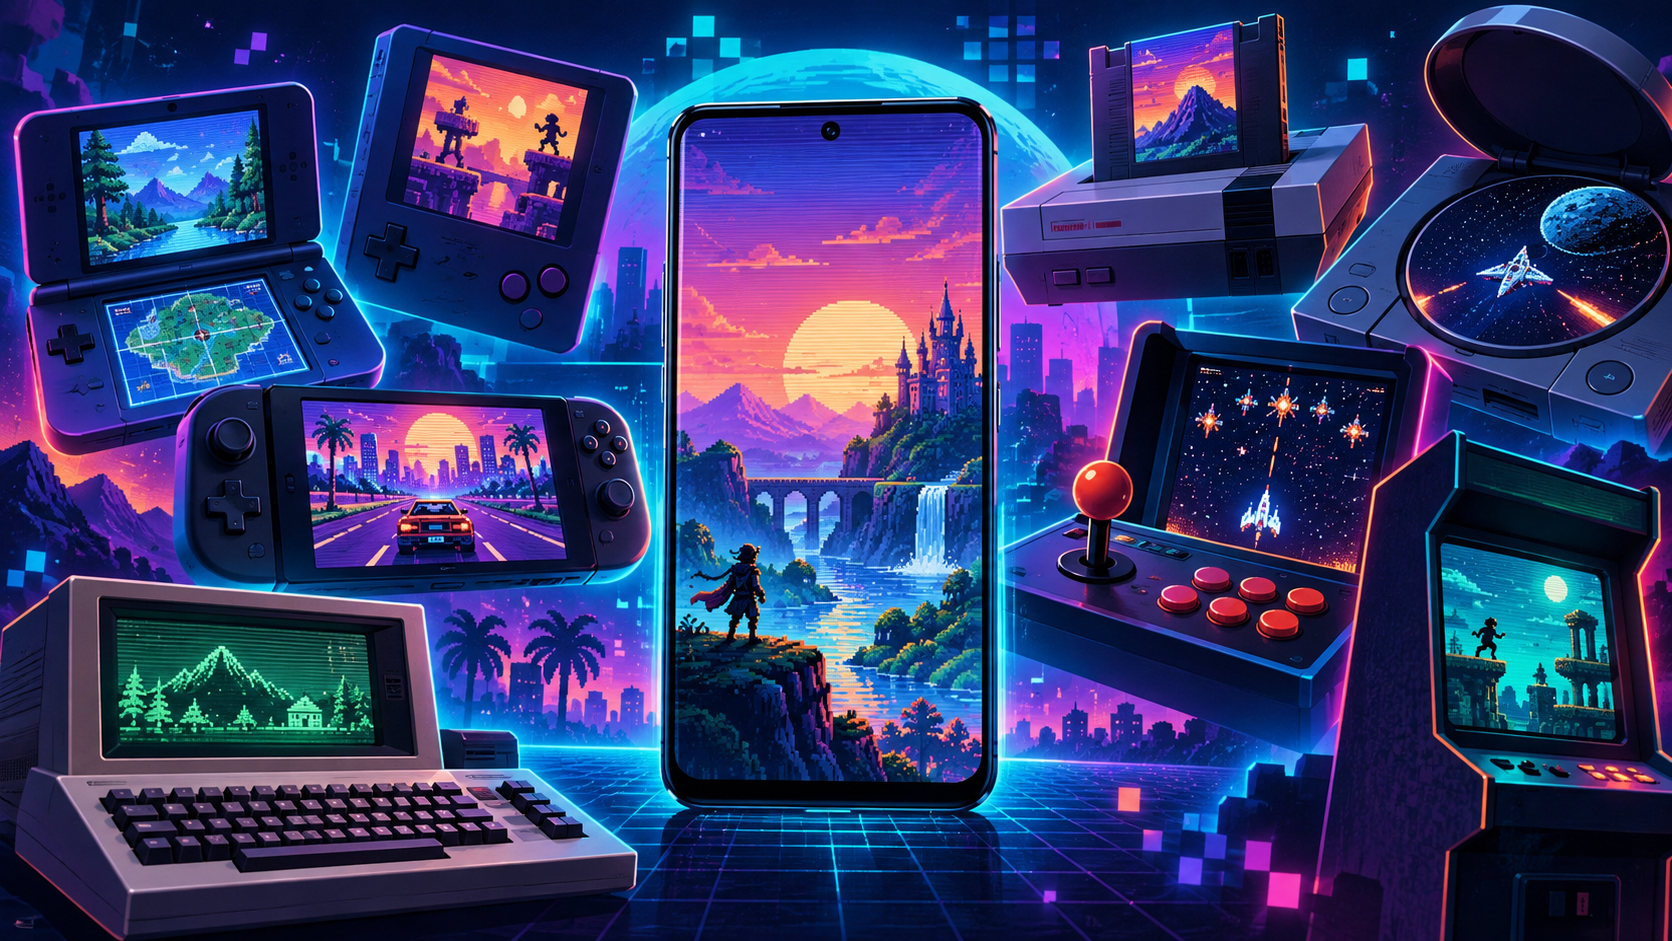
There was a time when taking a serious retro game collection with you meant carrying a dedicated handheld, several cartridges, a mess of cables, and probably a case big enough to qualify as luggage. Android has changed that completely.
A decent modern phone can now handle everything from the Game Boy, NES, and Sega Genesis to the PlayStation, Dreamcast, PSP, GameCube, and — with the right hardware and a little patience — even portions of the PlayStation 2 and Wii libraries. Throw in classic computers, arcade hardware, Neo Geo, PC Engine, and a growing list of more demanding systems, and Android has quietly become one of the most versatile retro gaming platforms available.
The problem in 2026 is not finding an emulator. There are plenty of them. The harder part is figuring out which projects are trustworthy, which ones are still actively developed, what your phone can realistically handle, and whether a dedicated emulator or an all-in-one setup makes more sense for the games you actually want to play.
That is exactly what this page is designed to solve.
Think of this as the front door to Retro Replay’s complete Android emulation library. Below you will find 24 individual system guides covering Nintendo, Sega, PlayStation, Atari, SNK, classic computers, handhelds, and more. Each guide goes much deeper into the emulators themselves, including setup, controls, compatibility, performance, graphics options, firmware requirements, and the quirks that can make one emulator a much better fit than another.
So, Where Should You Start?
If you are completely new to Android emulation, there is no reason to begin with the hardest system you can possibly run. Start with something mature and forgiving. Game Boy, Game Boy Advance, NES, SNES, Sega Genesis, and PSP emulation are all excellent entry points because the software is well established and even relatively modest Android devices can produce very good results.
Touchscreen controls can also work better than many people expect, particularly with turn-based RPGs, puzzle games, slower adventures, and Nintendo DS titles that were already designed around touch input. You do not necessarily need to turn your phone into a miniature console every time you want to play for fifteen minutes.
Once you get into systems such as the Nintendo 64, Dreamcast, PlayStation, GameCube, Wii, PlayStation 2, or arcade games with six-button layouts, a physical controller becomes much more valuable. Analog sticks, triggers, shoulder buttons, and actual tactile feedback can completely change the experience.
There are also systems that simply require more patience. Sega Saturn emulation can still be finicky. Classic computers may need keyboard mapping and disk management. CD-based systems often introduce BIOS or firmware considerations. PlayStation 2 performance can vary dramatically from one game to another.
And then there is PlayStation 3 emulation. Progress is happening, but Android PS3 emulation should still be treated as experimental enthusiast territory rather than something you install expecting the same mature experience you would get from a PSP or PlayStation emulator.
Nintendo Handheld Emulators
- Game Boy Emulators for Android — Simple, lightweight, and easy to run on almost any phone.
- Game Boy Advance Emulators for Android — Great performance, sharp graphics, and excellent controller support.
- Nintendo DS Emulators for Android — The best options for dual-screen layouts, touch controls, and stylus-heavy games.
Nintendo Console Emulators
- NES Emulators for Android — Mature, accurate emulation that runs well on nearly anything.
- SNES Emulators for Android — Excellent choices for the standard SNES library and enhancement-chip games.
- Nintendo 64 Emulators for Android — Compare the best options for compatibility, graphics settings, and controls.
- GameCube Emulators for Android — A look at the best choices for more demanding 3D emulation.
- Wii Emulators for Android — Covers performance, controller mapping, and Wii’s unusual input methods.
Sega Emulators
- Sega Genesis Emulators for Android — Fast, reliable 16-bit emulation with plenty of great choices.
- Sega Saturn Emulators for Android — The best options for one of Sega’s most complicated consoles.
- Dreamcast Emulators for Android — Excellent for Sega’s arcade-heavy 3D library on capable phones.
PlayStation Emulators
- PlayStation 1 Emulators for Android — Mature PS1 emulation with graphics enhancements, saves, and controller support.
- PlayStation 2 Emulators for Android — Compare today’s serious PS2 options, performance, and compatibility.
- PSP Emulators for Android — One of Android’s best emulation experiences, especially on modern phones.
- PlayStation 3 Emulators for Android — A reality check on current PS3 emulation and experimental projects.
Neo Geo and PC Engine
- Neo Geo Emulators for Android — Great choices for SNK’s AES, MVS, fighters, and arcade classics.
- Neo Geo Pocket Emulators for Android — Lightweight emulation for SNK’s underrated handheld library.
- TurboGrafx-16 and PC Engine Emulators — Covers HuCards, PC Engine CD games, BIOS setup, and controls.
Classic Computer Emulators
- Commodore 64 Emulators for Android — Play C64 games with manageable keyboard, joystick, and disk controls.
- Amiga Emulators for Android — The best ways to handle Amiga disks, mice, joysticks, and hardware profiles.
- MSX Emulators for Android — Compare options for the different MSX generations and cartridge formats.
- ZX Spectrum Emulators for Android — Modern ways to handle Spectrum games, keyboards, and classic controls.
Atari and Other Handhelds
- Atari Emulators for Android — Covers Atari consoles, handhelds, and computers across several generations.
- WonderSwan Emulators for Android — Explore Bandai’s distinctive portrait- and landscape-friendly handheld.
How to Choose the Right Android Emulator
With so many options available, it is easy to fall into the trap of assuming the emulator with the longest feature list must be the best one. That is rarely how it works.
The right emulator is the one that handles the games you want to play reliably, runs well on your hardware, gives you the features you actually use, and does not make you fight through twenty menus every time you launch something.
Start With the System, Not the App
Dedicated emulators often have an advantage because everything about the interface is built around one machine or one closely related family of hardware. The settings are easier to understand, and console-specific options are usually presented more clearly.
Multi-system emulators and frontends have their own advantage: convenience. If you want one library containing a dozen consoles with consistent controller mappings, artwork, saves, and navigation, having everything under one roof can be fantastic.
Neither philosophy is automatically better. Decide whether simplicity within one system or consistency across many systems matters more to you.
Be Realistic About Your Phone
For older 2D hardware, raw processing power is rarely an issue anymore. A huge range of Android devices can handle the NES, SNES, Genesis, Game Boy, GBA, and similar systems comfortably.
Move into Saturn, Dreamcast, GameCube, Wii, and PlayStation 2 territory and things change quickly. CPU architecture, graphics drivers, thermal throttling, and sustained performance begin making a much bigger difference.
A good rule is to start at the original system’s native resolution. Play a demanding part of the game for a while. If everything remains smooth, begin increasing resolution or adding enhancements afterward.
A stable game at native resolution is almost always better than a supposedly beautiful 4x upscale that stutters whenever something interesting happens.
Do Not Ignore the Controls
People spend a tremendous amount of time debating graphics settings and surprisingly little time talking about controls, even though bad controls can ruin an otherwise perfect emulator.
Touch overlays are useful. They require no extra hardware, and for turn-based RPGs, menu-heavy games, strategy titles, and short sessions they can be perfectly adequate.
Fast platformers, racers, shooters, fighting games, and 3D action titles are another matter. A Bluetooth or USB controller gives you physical feedback, proper analog movement, shoulder buttons, and triggers without covering part of the screen with your fingers.
In many cases, buying a decent controller will improve your Android emulation experience more than another hour spent adjusting graphics filters.
Keep Your Library Organized From the Beginning
This becomes more important as your collection grows. Create separate folders for games, BIOS or firmware files, memory cards, screenshots, and save backups rather than dumping everything into one enormous directory.
Whenever possible, continue using the game’s normal internal save system as well as save states. Save states are incredibly convenient, but they often depend on a particular emulator version and may stop working correctly after major software changes.
Traditional memory card or battery-backed save files tend to be much easier to move between versions and sometimes even between completely different emulators.
Before switching applications, upgrading storage, or replacing your phone, make a backup of the entire save directory. Ten seconds of copying can protect hundreds of hours of progress.
Want to Go Deeper? Explore Our Emulator Profiles
The system guides above are designed to help you compare your options. If you already know which emulator interests you and want to dig into the project itself, Retro Replay is also building a growing library of individual emulator profiles.
Start with Dolphin for GameCube and Wii, PPSSPP for PSP, melonDS for Nintendo DS, mGBA for Game Boy Advance, DuckStation for the original PlayStation, and Flycast for Dreamcast and supported arcade hardware.
You can also follow Retro Replay’s Emulator News section for new releases, major updates, development milestones, preservation stories, and other developments across the emulation community.
A Word About Games, BIOS Files, and Firmware
Emulators themselves are software tools. The commercial games, console firmware, BIOS files, artwork, music, and other copyrighted material they may run are separate from the emulator.
The safest approach is also the cleanest one: build your emulation library from games and hardware you own. Dump your own cartridges and discs where practical, preserve your own firmware, and keep backups of digital purchases you are legally entitled to use.
Be especially cautious with websites advertising enormous “complete ROM sets,” mystery BIOS collections, or downloads wrapped inside custom installers. Apart from copyright concerns, these sites are notorious for mislabeled dumps, broken files, intrusive advertising, fake download buttons, and malicious software.
Android Emulation FAQ
What is the best all-in-one emulator for Android?
There really is no universal answer because an all-in-one emulator that is perfect for one person’s library may be unnecessary for somebody who only plays two systems.
Multi-system solutions are excellent when you want one interface and a consistent setup across several consoles. Dedicated emulators often expose more system-specific settings and can be easier to troubleshoot when something goes wrong.
Choose based on the systems you actually intend to use rather than trying to install the application that technically supports the largest number of machines.
Do I need an expensive gaming phone for emulation?
Not at all if your interests are primarily 8-bit, 16-bit, and older handheld systems. Those platforms can run extremely well on modest Android hardware.
More demanding 3D systems are where newer processors and better graphics hardware start paying off. GameCube, Wii, Saturn, and PlayStation 2 emulation can particularly benefit from faster chips, good graphics drivers, and a phone capable of maintaining performance without severe thermal throttling.
Can I use a controller I already own?
Quite possibly. Many modern Bluetooth and USB controllers work with Android, although button layouts and device support can vary.
Once connected, map the buttons inside the emulator rather than assuming every game will automatically understand the controller perfectly. Save the profile afterward, and if you are playing racers or 3D games, take a moment to check analog-stick dead zones as well.
Can I move save states from one emulator to another?
Usually not. A save state is essentially a snapshot of an emulator’s internal condition at one exact moment, which means its format is often tied to that particular emulator and sometimes even a specific version.
Normal in-game save files are generally much more portable. Keep both when possible. Save states are wonderful for convenience, but your traditional game saves should remain the long-term backup you trust.
Find an Emulator That Runs on Android
Our Android emulator directory lists 57 verified profiles. Filter by the system you want to emulate, then choose a standalone app or a Libretro core for RetroArch.
Good starting points include Lemuroid, PPSSPP, Dolphin, redream. The RetroArch profile explains how cores fit together.
Browse all 57 Android emulator profiles
Nintendo and handhelds
- Azahar — Standalone Android app
- bsnes — RetroArch core
- bsnes C++98 (v085) — RetroArch core
- bsnes-jg — RetroArch core
- Citra — RetroArch core
- DeSmuME — RetroArch core
- Dolphin — RetroArch core
- FCEUmm — RetroArch core
- Gambatte — RetroArch core
- Gearboy — RetroArch core
- gpSP — RetroArch core
- Lemuroid — Standalone Android app
- melonDS — RetroArch core
- Mesen — RetroArch core
- Meteor — RetroArch core
- mGBA — RetroArch core
- Mupen64Plus-Next — RetroArch core
- Nestopia — RetroArch core
- Panda3DS — RetroArch core
- QuickNES — RetroArch core
- SameBoy — RetroArch core
- SkyEmu — RetroArch core
- Snes9x — RetroArch core
- VBA Next — RetroArch core
Sega
- BlastEm — RetroArch core
- ClownMDEmu — RetroArch core
- Flycast — RetroArch core
- Gearsystem — RetroArch core
- Genesis Plus GX — RetroArch core
- Mednafen — RetroArch core family
- PicoDrive — RetroArch core
- redream — Standalone Android app
- SMS Plus GX — RetroArch core
- Yabause — RetroArch core
- Ymir — RetroArch core
PlayStation
- Beetle PSX — RetroArch core
- Beetle PSX HW — RetroArch core
- Play! — Standalone Android app
- PPSSPP — RetroArch core
- Vita3K — Standalone Android app
Arcade, Atari, and other handhelds
- DICE — RetroArch core
- FB Neo — RetroArch core
- Gearcoleco — RetroArch core
- Gearlynx — RetroArch core
- Geolith — RetroArch core
- Handy — RetroArch core
- Holani — RetroArch core
- JollyCV — RetroArch core
- Stella — RetroArch core
Classic computers and NEC
- amiberry — RetroArch core
- Beetle PCE FAST — RetroArch core
- blueMSX — RetroArch core
- DOSBox — RetroArch core
- DOSBox-Pure — RetroArch core
- PUAE — RetroArch core
- VICE x64 — RetroArch core
- VirtualXT — RetroArch core
Build the Android Retro Setup You Will Actually Use
There is a temptation with emulation to install everything at once. Suddenly you have twelve emulators, six frontends, several thousand games, three controller profiles, and absolutely no idea what you actually wanted to play in the first place.
It does not have to work that way.
Pick one system you genuinely care about. Install a good emulator for it. Organize a small library. Get your controls comfortable. Make sure your saves are working and backed up. Then actually play something.
Once that setup feels effortless, add another system.
That is where Android becomes such an impressive retro platform. You can begin with a tiny Game Boy collection and gradually build the same device into a portable library covering decades of gaming history. NES one minute, Dreamcast the next, a little Commodore 64 after that, and perhaps some PSP before bed.
The technology is impressive, but the best emulator setup is not the one with the most systems or the most complicated configuration. It is the one that disappears into the background once the game starts.
Use the 24 Retro Replay guides above to build that setup one system at a time, and your Android phone can become one of the most capable retro gaming machines you already own.